Run a lab
The green play button and the arrow next to it hold every lifecycle action. They run on the machine behind your app: the VS Code host, or the lab host you signed in to.
Deploy and apply
The play button is Apply. It does the right thing for the lab's state:
| The lab is… | Apply… |
|---|---|
| Not running | Deploys it. |
| Running, file unchanged | Nothing to do; the button is disabled. |
| Running, file changed | Shows a plan first, then runs containerlab apply to bring the running lab in line with the file. A dot on the button tells you there are changes. |
Check the plan before applying
For a running lab, Apply first runs containerlab apply --dry-run and lists what would happen: nodes to create, start, restart, recreate, or remove, and links to connect or disconnect. Restarts and recreates come with containerlab's reason, for example config drift: image. Nothing changes until you select Apply.
- Recreated and removed nodes lose configuration you did not save, so the dialog warns you about them.
- If the running lab already matches the file, the dialog says there is nothing to apply.
- If the dry run fails, the dialog shows the error, and you can still choose Apply anyway.
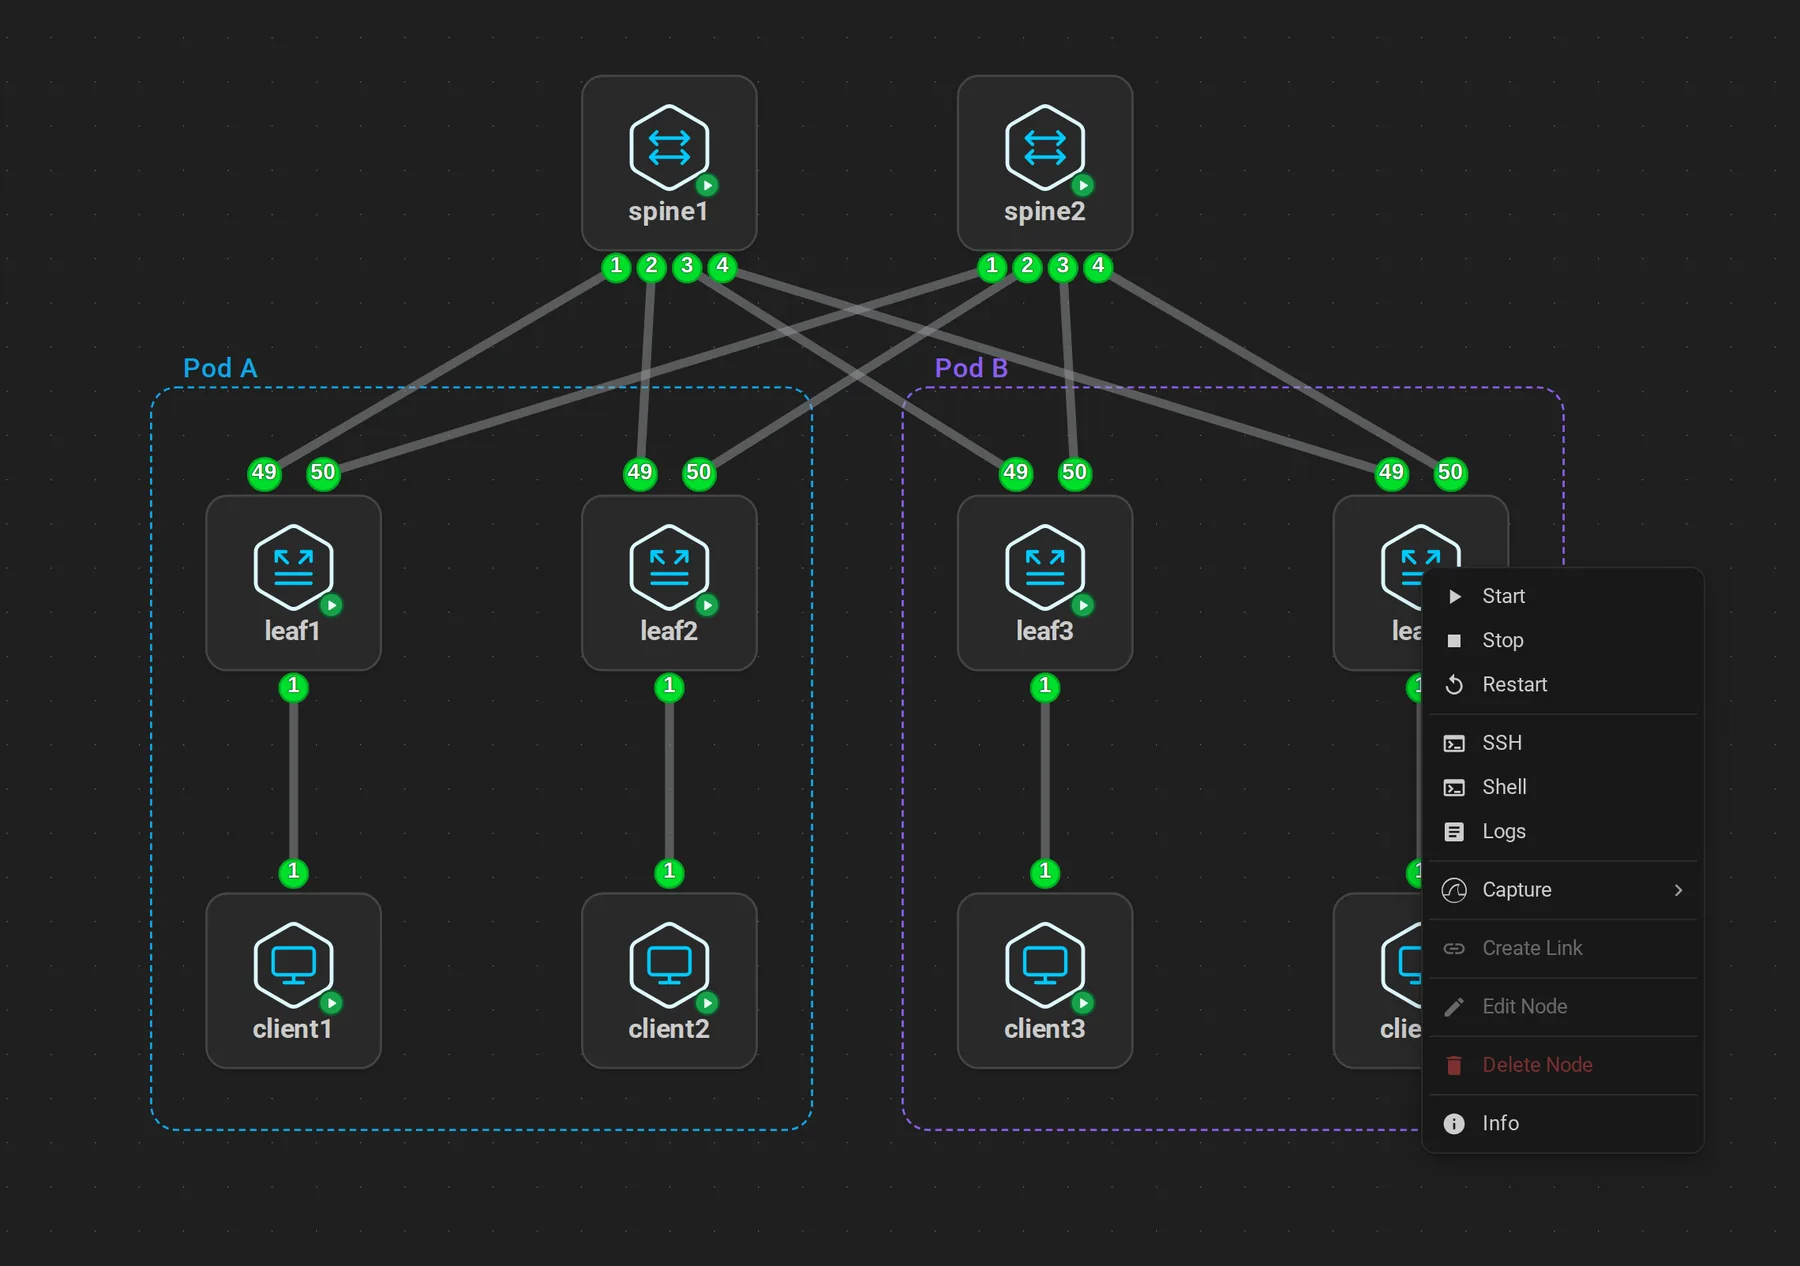
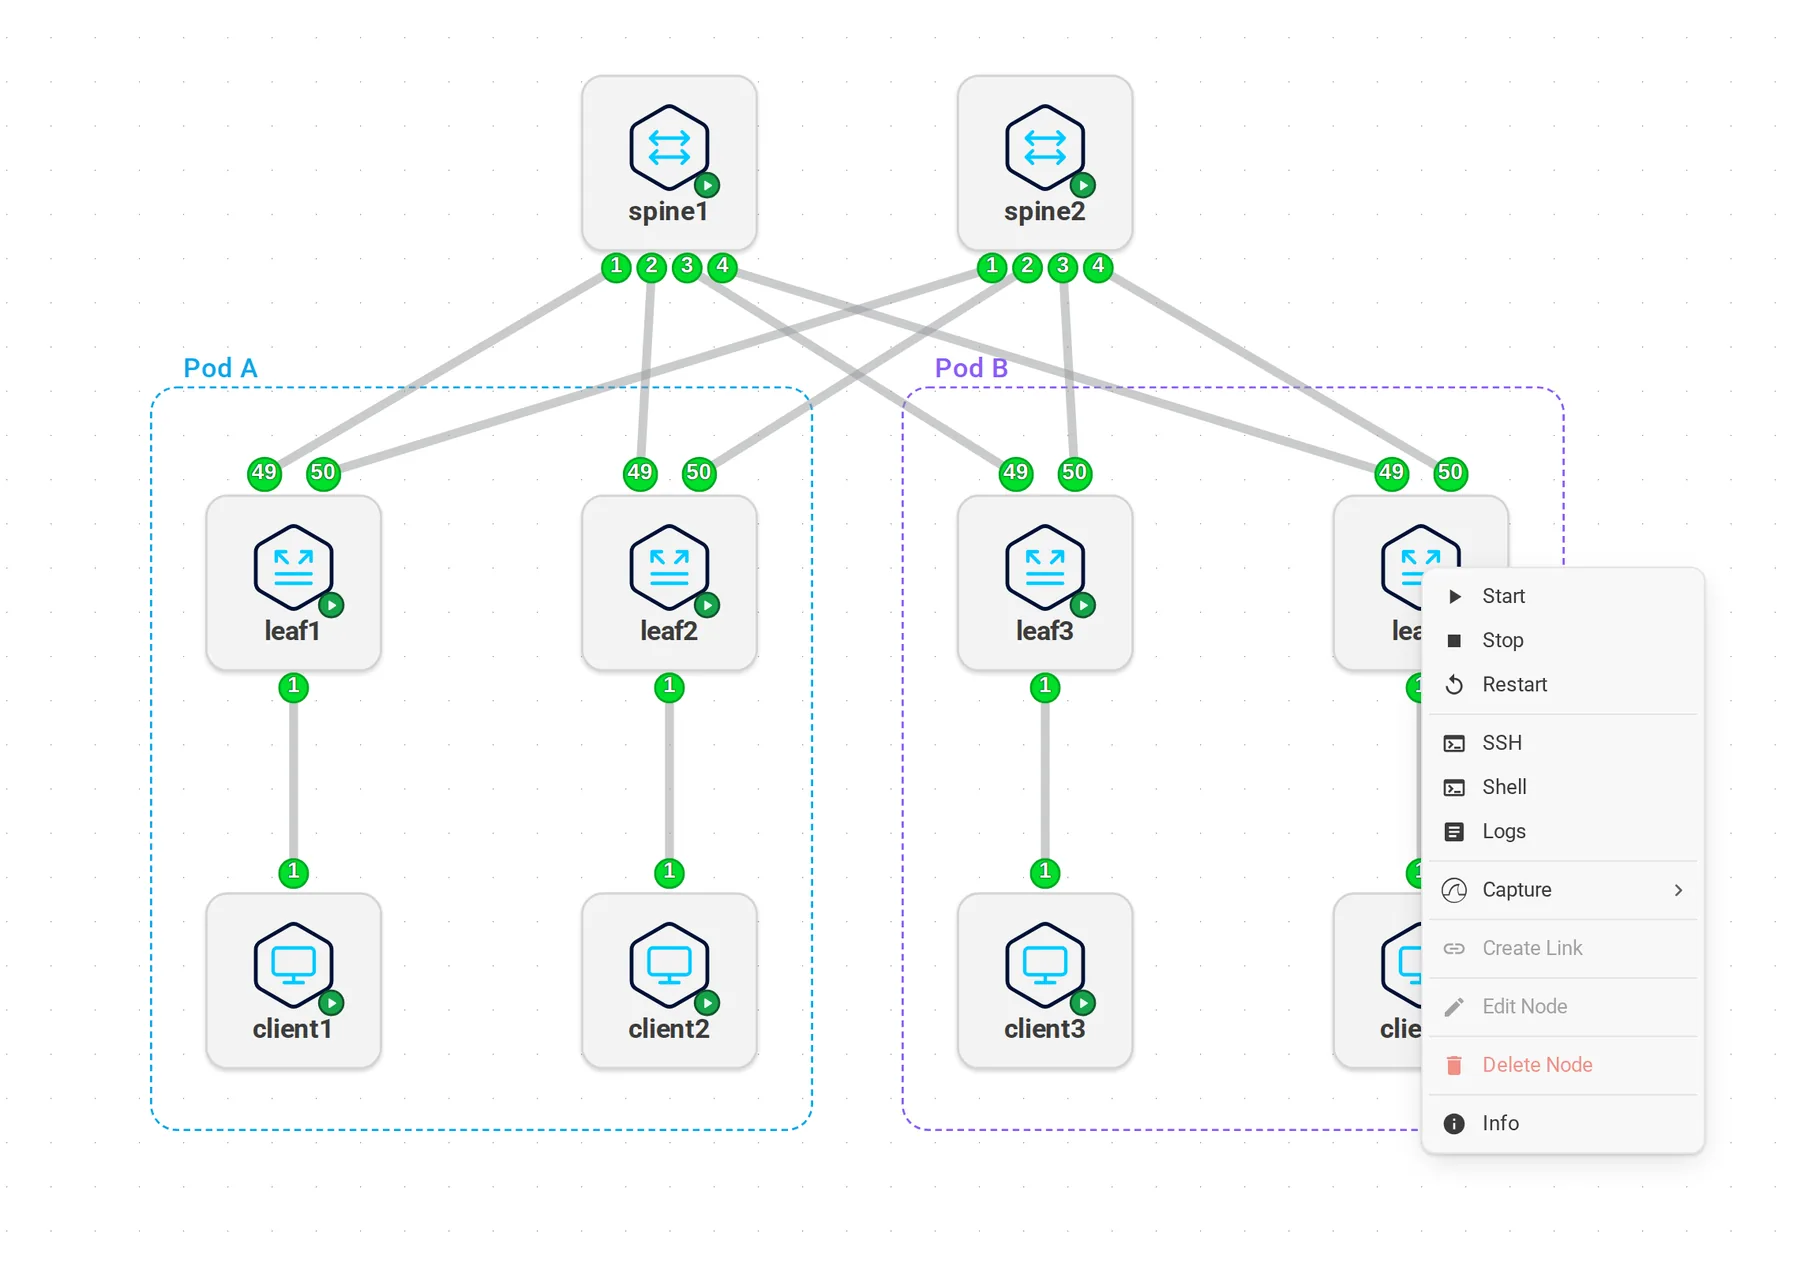
When a lab is running, its nodes show a status badge, and right-clicking a node gives you its runtime actions. Nodes pulse while they start or stop, until their container runs and passes its healthcheck. A node that fails its healthcheck stays still with an orange warning.
The lifecycle menu
The arrow next to the play button opens the rest:
| Action | What happens |
|---|---|
| Deploy (cleanup) | Deploy after removing leftovers of an earlier run. |
| Redeploy | Destroy and deploy again. Node changes you did not save are lost. |
| Redeploy (cleanup) | The same, and remove the lab directory first. |
| Destroy | Remove the containers and links. Your files stay. |
| Destroy (cleanup) | Also remove the lab directory with generated configs and certificates. |
| Start Nodes, Stop Nodes, Restart Nodes | Start, stop, or restart the containers without redeploying. |
| Run Command…, Save Configs…, Save VM Snapshots…, Inspect Details | Work with the running lab; see Lab operations. |
| Validate | Run containerlab validate on the topology file without deploying it. |
| Run with options… | Any of the above with extra containerlab flags. |
In VS Code, cleanup actions ask for confirmation unless containerlab.skipCleanupWarning is on.
Run with options
Run with options… deploys, redeploys, or destroys with flags you pick. It starts from the lab's deploy settings, and with Remember as this lab's deploy settings on (the default) a deploy or redeploy keeps its flags as those settings for later runs. The dialog shows the resulting containerlab command as you go.
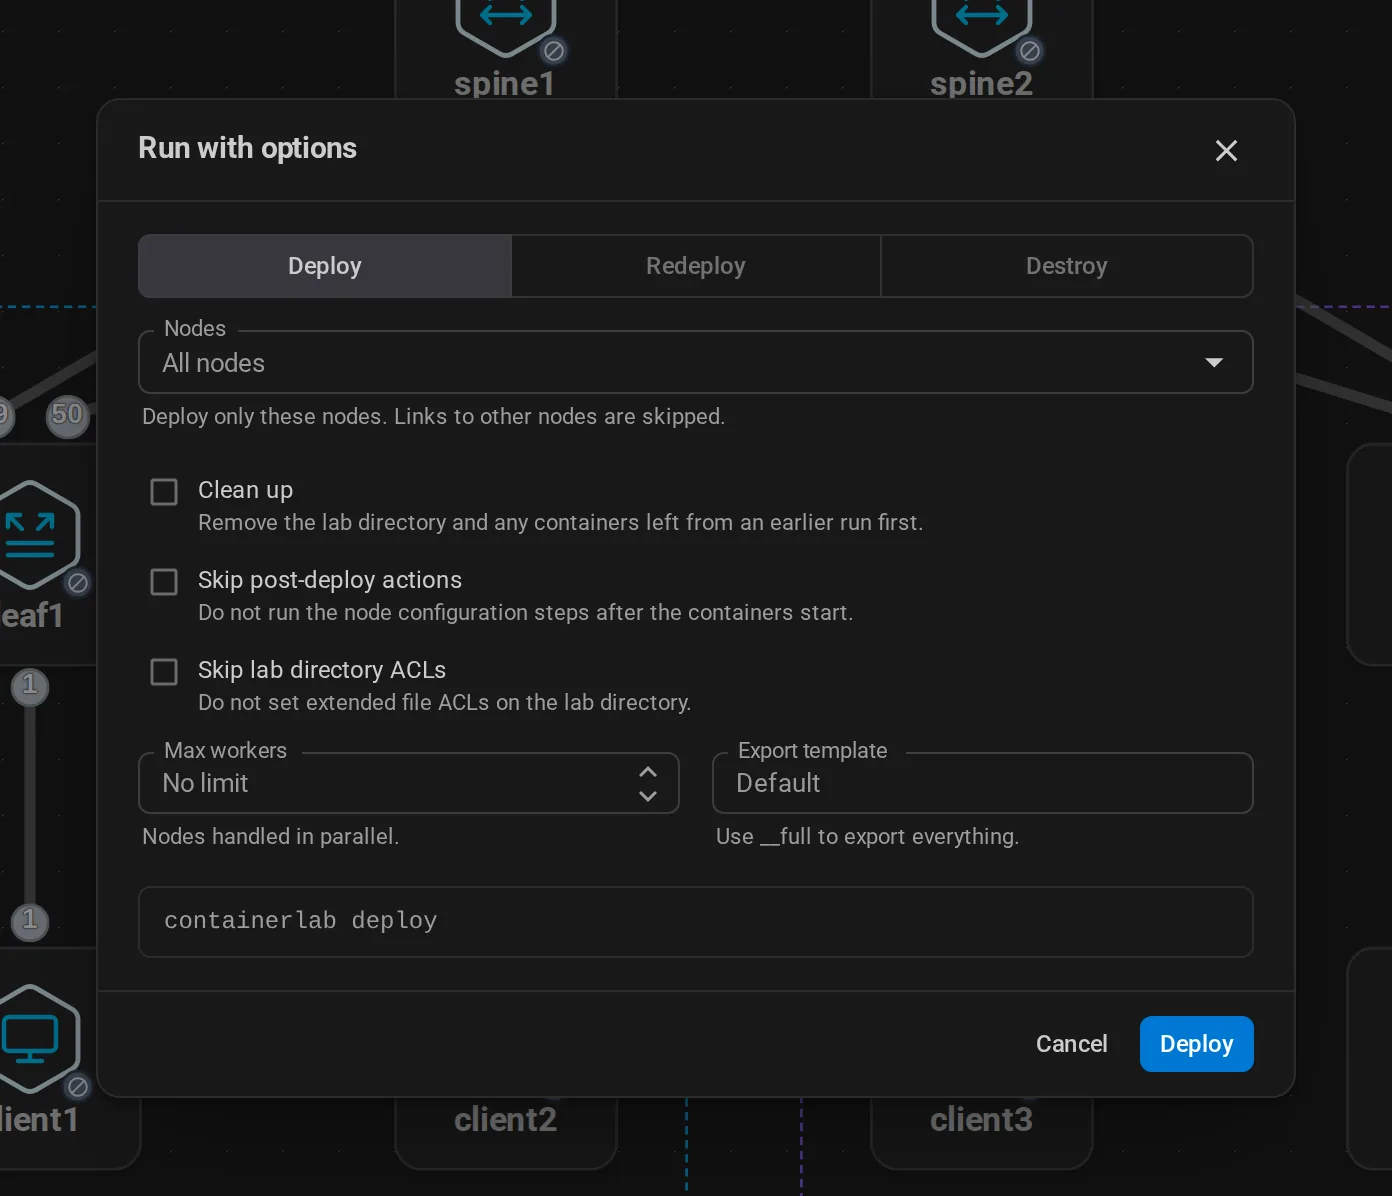
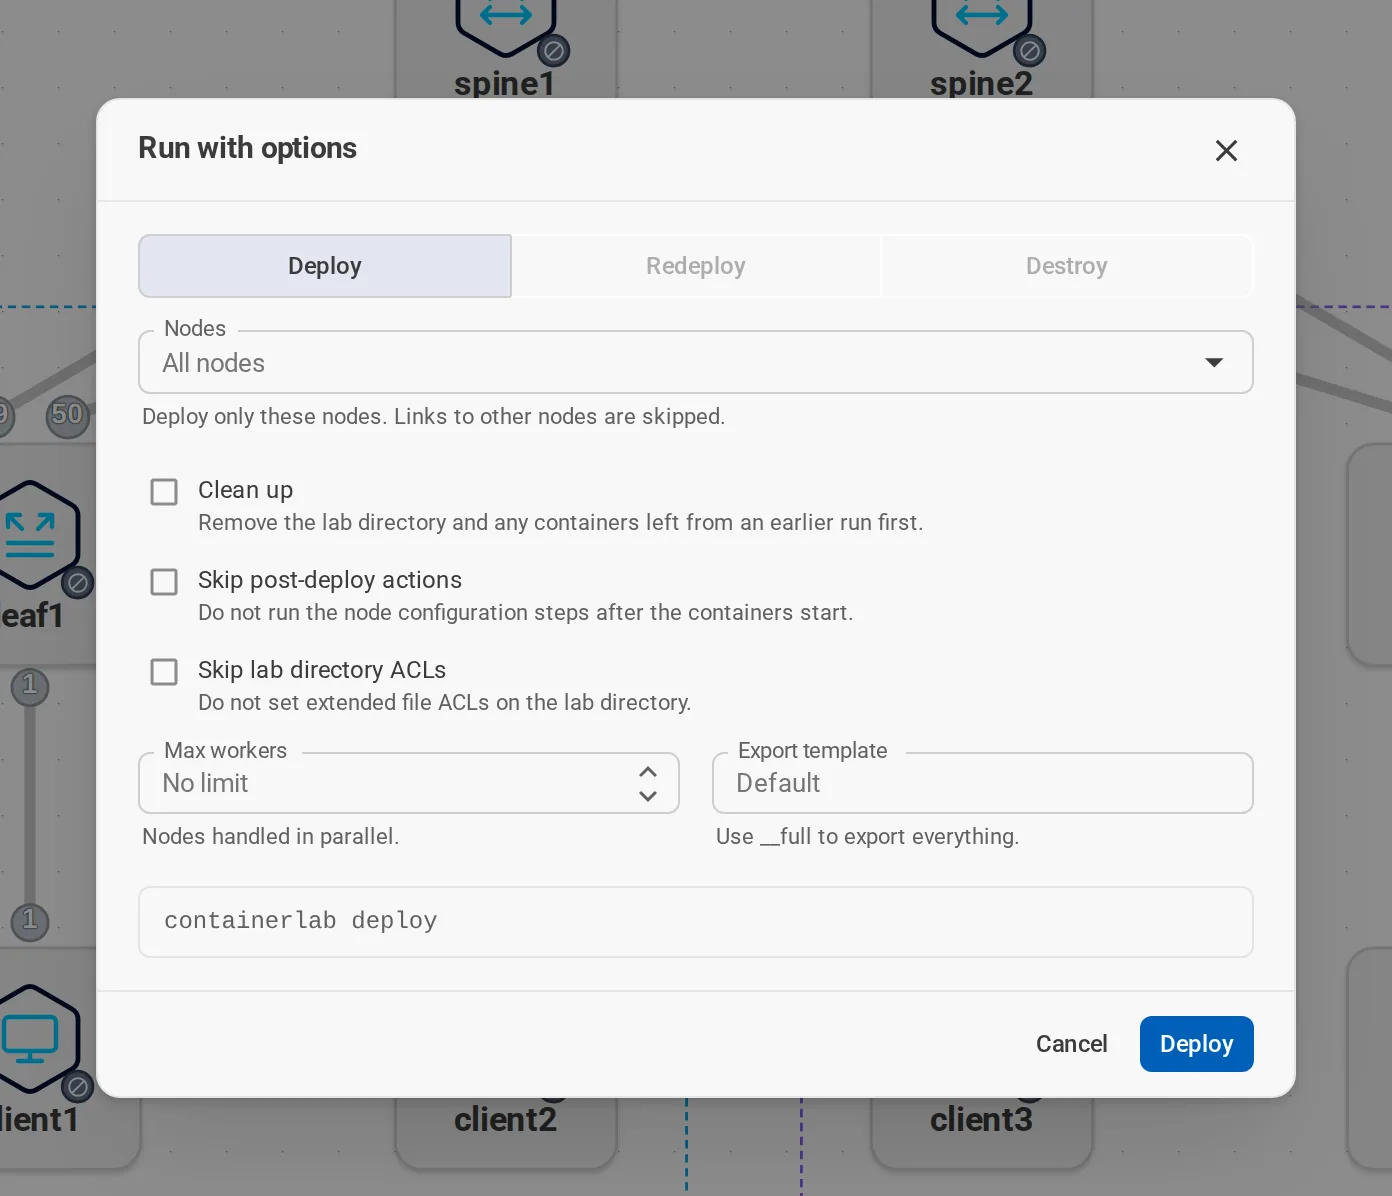
| Option | Deploy | Redeploy | Destroy | Flag |
|---|---|---|---|---|
| Clean up | ✓ | ✓ | ✓ | -c |
| Timeout | ✓ | ✓ | ✓ | --timeout |
| Nodes | ✓ | ✓ | --node-filter |
|
| Graceful shutdown | ✓ | ✓ | --graceful |
|
| Keep management network | ✓ | ✓ | --keep-mgmt-net |
|
| Skip post-deploy actions | ✓ | ✓ | --skip-post-deploy |
|
| Skip lab directory ACLs | ✓ | ✓ | --skip-labdir-acl |
|
| Max workers | ✓ | ✓ | --max-workers |
|
| Export template | ✓ | ✓ | --export-template |
|
| Template variables file | ✓ | ✓ | ✓ | --vars |
| Restore VM snapshots | ✓ | --restore-all, --restore |
The template variables file is relative to the topology file. Leave it empty to use <topology>_vars.yml next to the topology, as containerlab does. Destroy and redeploy need the same file as the deploy when the template depends on it. On a lab host, --vars needs a clab-api-server with template support; older servers ignore it.
Timeout is how long containerlab waits for the lab runtime, as a duration such as 30m or 1h. containerlab's default is 2m on Docker and Podman and 10m on a Kubernetes cluster, where nodes first pull their images; raise it when big images pull slowly. An API Server takes a timeout of at most 2h when it lists the lab-lifecycle-timeout feature (clab-api-server with the c9s runtime support); its default, 5m with Docker and Podman and 10m on a cluster, shows in the field, or the API Server's default when the server does not report it. Older servers run containerlab with their own timeouts and take none, so the field is not offered there.
Destroying only some nodes keeps the rest running, so it cannot be combined with clean up. In VS Code these flags come after the lab host's Deploy arguments and Destroy arguments (deploy.extraArgs and destroy.extraArgs for This computer). The desktop and web apps do not accept an absolute path for the export template.
Restore VM snapshots boots vrnetlab nodes from snapshots saved with Save VM Snapshots…: every node with a <node>.tar in the snapshot directory starts from it, and a node snapshot file you add wins for its node. Relative paths start at the topology file's folder. containerlab 0.72 or later is needed.
Deploy settings
Lab Settings → Deploy holds the flags this lab's deploys use on its lab host: timeout, max workers, and the template variables file; the export template and skip options on Docker and Podman (greyed out on a Kubernetes cluster, which refuses them); and the Kubernetes deploy options on a cluster. Each field says what the lab host's default is, and a tag next to it shows whether the lab has its own value (This lab) or uses that default (Lab host default). On an API Server the Kubernetes options are its own and show read-only, and the timeout is greyed out unless the server takes one (lab-lifecycle-timeout).
Every Deploy, Redeploy, Apply, and Destroy of the lab without options of its own uses them; destroy takes only its part, such as the timeout and the namespace. Flags of one run, such as nodes, clean up, and snapshot restore, are never remembered. Clear all empties every field, and Apply saves the tab. Deploy settings stay editable in a locked lab: they do not change the topology.
Unlike the other tabs, deploy settings are not written into the topology file. They belong to one topology file on one lab host: the same file on another host has its own. VS Code keeps them in its global state; the web and desktop apps keep them in the browser's local storage.
Lab operations
These entries of the lifecycle menu, and of a node's right-click menu, work on a running lab. Select several nodes with Shift-click first to act on all of them at once: Start, Stop, and Restart then make one containerlab start|stop|restart --node a,b call.
| Action | containerlab | What happens |
|---|---|---|
| Run Command… | exec |
Runs one command on the chosen nodes, on all nodes, or on the nodes that carry every given key=value label, and shows each node's output and exit code. |
| Save Configs… | save |
Saves the running configs. Copy the saved configs to a directory also keeps timestamped copies under <directory>/clab-<lab>/<node>/, with the newest linked under the original name. |
| Save VM Snapshots… | tools snapshot save |
Saves the VM state of vrnetlab nodes as <node>.tar; other nodes are skipped. |
| Inspect Details | inspect --details |
Shows everything the container runtime reports for each node. |
Paths are relative to the topology file's folder. On a lab host they must stay in your lab workspace.
The explorer's Save Configs To… saves a deployed lab's configs with a copy, too.
A lab host hides what it cannot do. Copying saved configs needs containerlab 0.73 and VM snapshots 0.72; on a lab host, running by label, snapshots, copies, details, snapshot restore and one-call multi-node actions need a clab-api-server that lists them in /health. Older lab hosts still run commands and start, stop, or restart several nodes, one node at a time.
Validate a topology
Validate in the lifecycle menu, and Validate Topology on a lab in the explorer, check the topology file the way containerlab validate does: the schema, the nodes, and the links. A valid topology reports its node and link count. Otherwise you get containerlab's error. In VS Code, Validate Topology is also in the context menu of .clab.yml files.
Share a running lab
The Sharing actions of a running lab start a terminal others can join in the browser.
| Tool | Options when you share |
|---|---|
| SSHX | Also create a read-only link: viewers watch the terminals but cannot type. |
| GoTTY | The port, a username and password instead of admin/admin, and the shell. |
The app shows the links to copy or open. Labs on a lab host need a clab-api-server that offers these options; with an older one, sharing works with the defaults and the dialog says what is missing.
Capture packets
Right-click a running node and choose Capture, or right-click a link to capture both ends. Pick the interfaces, then Wireshark opens.
Captures need no Edgeshark: containerlab captures lab links as one stream, which opens in Wireshark on this computer or Wireshark VNC, or saves as a .pcapng. On Docker and Podman this needs containerlab 0.83.0 or newer on this computer, or a clab-api-server that offers capture streams; with older ones they capture through Edgeshark.
Edgeshark remains an option on Docker and Podman lab hosts: pick it as the default capture method, or use Capture interface (Edgeshark). It is also what captures interfaces that are no lab links, such as the management interface eth0, and labs whose topology file is gone.
Default capture method
Where a capture opens is a setting of each lab host: Default capture method on the lab host's page under Settings > Lab hosts, in every app. In VS Code, This computer keeps it in containerlab.capture.preferredAction, a Kubernetes lab host or an API Server as captureMethod in its containerlab.connections entry. Click the lab host's name at the left of a lab's toolbar to get there.
| Method | Docker or Podman lab host | Kubernetes (c9s) lab host |
|---|---|---|
| Automatic (default) | Wireshark on this computer when the app can open it (desktop, VS Code with Wireshark found), else Wireshark VNC, else a .pcapng |
The same |
| Wireshark on this computer | The capture stream into wireshark -k -i -; from the web app, Edgeshark's packetflix: link, which starts it |
The capture stream into wireshark -k -i - (desktop and VS Code; greyed out in the web app) |
| Wireshark VNC | Wireshark VNC fed by the capture stream | Wireshark VNC fed by the capture stream |
| Edgeshark | The packetflix: link |
Greyed out: not supported on Kubernetes |
When the lab host lacks the method you picked, for example Edgeshark on a cluster, Wireshark VNC without Docker, or Wireshark that is not installed, the capture opens the automatic way and says why: VS Code once per session, the capture dialog of the web and desktop apps under its choices. The earlier values Wireshark VNC and Edgeshark keep working. On a Kubernetes lab host the Edgeshark controls of the web and desktop settings are greyed out too.
Labs on a Kubernetes cluster
On a Kubernetes cluster (c9s), clabernetes captures in each lab pod and containerlab merges the interfaces into one pcapng stream, one interface per pick, named <node>:<interface>. Only the interfaces of links between nodes can be captured, not the management interface. The picker lists them with the node and interface at the other end, and the vendor name (e.g. ethernet-1/1) when the topology used one. A capture longer than an hour stays one file; if clabernetes misses packets while it switches, you see a status line, and the capture goes on.
The capture dialog asks where the capture goes and when it stops. With the Automatic default it starts with:
| App | Lab host | Choices, default first |
|---|---|---|
| Desktop | cluster on this machine | Wireshark on this computer, Wireshark VNC (with Docker on this computer), download .pcapng |
| Desktop | clab-api-server | Wireshark on this computer, Wireshark VNC (when the server runs Docker), download .pcapng |
| Web | cluster of the web server (WEB_LOCAL_LABS) |
Wireshark VNC (with Docker next to the web server), download .pcapng |
| Web | clab-api-server | Wireshark VNC (when the server runs Docker), download .pcapng |
| VS Code | cluster on this machine | Wireshark in a terminal when Wireshark is found, Wireshark VNC (with Docker on this computer), save .pcapng; without Wireshark, Wireshark VNC comes first |
| VS Code | clab-api-server | Wireshark on this computer when Wireshark is found, Wireshark VNC (when the server runs Docker), save .pcapng; without Wireshark, Wireshark VNC comes first |
- Wireshark on this computer pipes the capture into
wireshark -k -i -. The desktop app and VS Code find Wireshark where it installs itself;CONTAINERLAB_DESKTOP_WIRESHARK(desktop) orcontainerlab.capture.wireshark.path(VS Code) point to another one. In WSL, a Wireshark installed on Windows is found too and opens on the Windows desktop. Closing Wireshark or pressing Ctrl+C in the terminal ends the capture in the pods. When VS Code finds no Wireshark, it offers Wireshark VNC, saving a.pcapng, or setting the path. - Wireshark VNC runs on the clab-api-server host, or, for a cluster used from this machine, in a container on this machine's Docker (or Podman). The app runs
containerlab -r c9s capture … -w -and writes the capture into a named pipe in that container, which its Wireshark reads; the container needs no way back to the app. The capture lasts as long as the window, and restarting it inside that Wireshark starts a new one; closing the window ends the capture and removes the container. This needs a wireshark-vnc-docker image with itsCLABWIRE_CAPTURE_PIPEmode; the current:latesthas it. With an older image, opening it fails and says so.containerlab.capture.wireshark.dockerImage(VS Code),CONTAINERLAB_DESKTOP_WIRESHARK_IMAGE(desktop) orWEB_LOCAL_WIRESHARK_IMAGE(web) pick another image. If the browser quits or crashes before it can say so, the web and desktop apps end the capture 30 seconds after its window stopped showing it. Without Docker on this computer the choice stays in the list, greyed, with Wireshark in the browser needs Docker on this computer. The default capture method Wireshark VNC puts it first. - A download needs a stop time. The file grows in your downloads while the capture runs.
Images
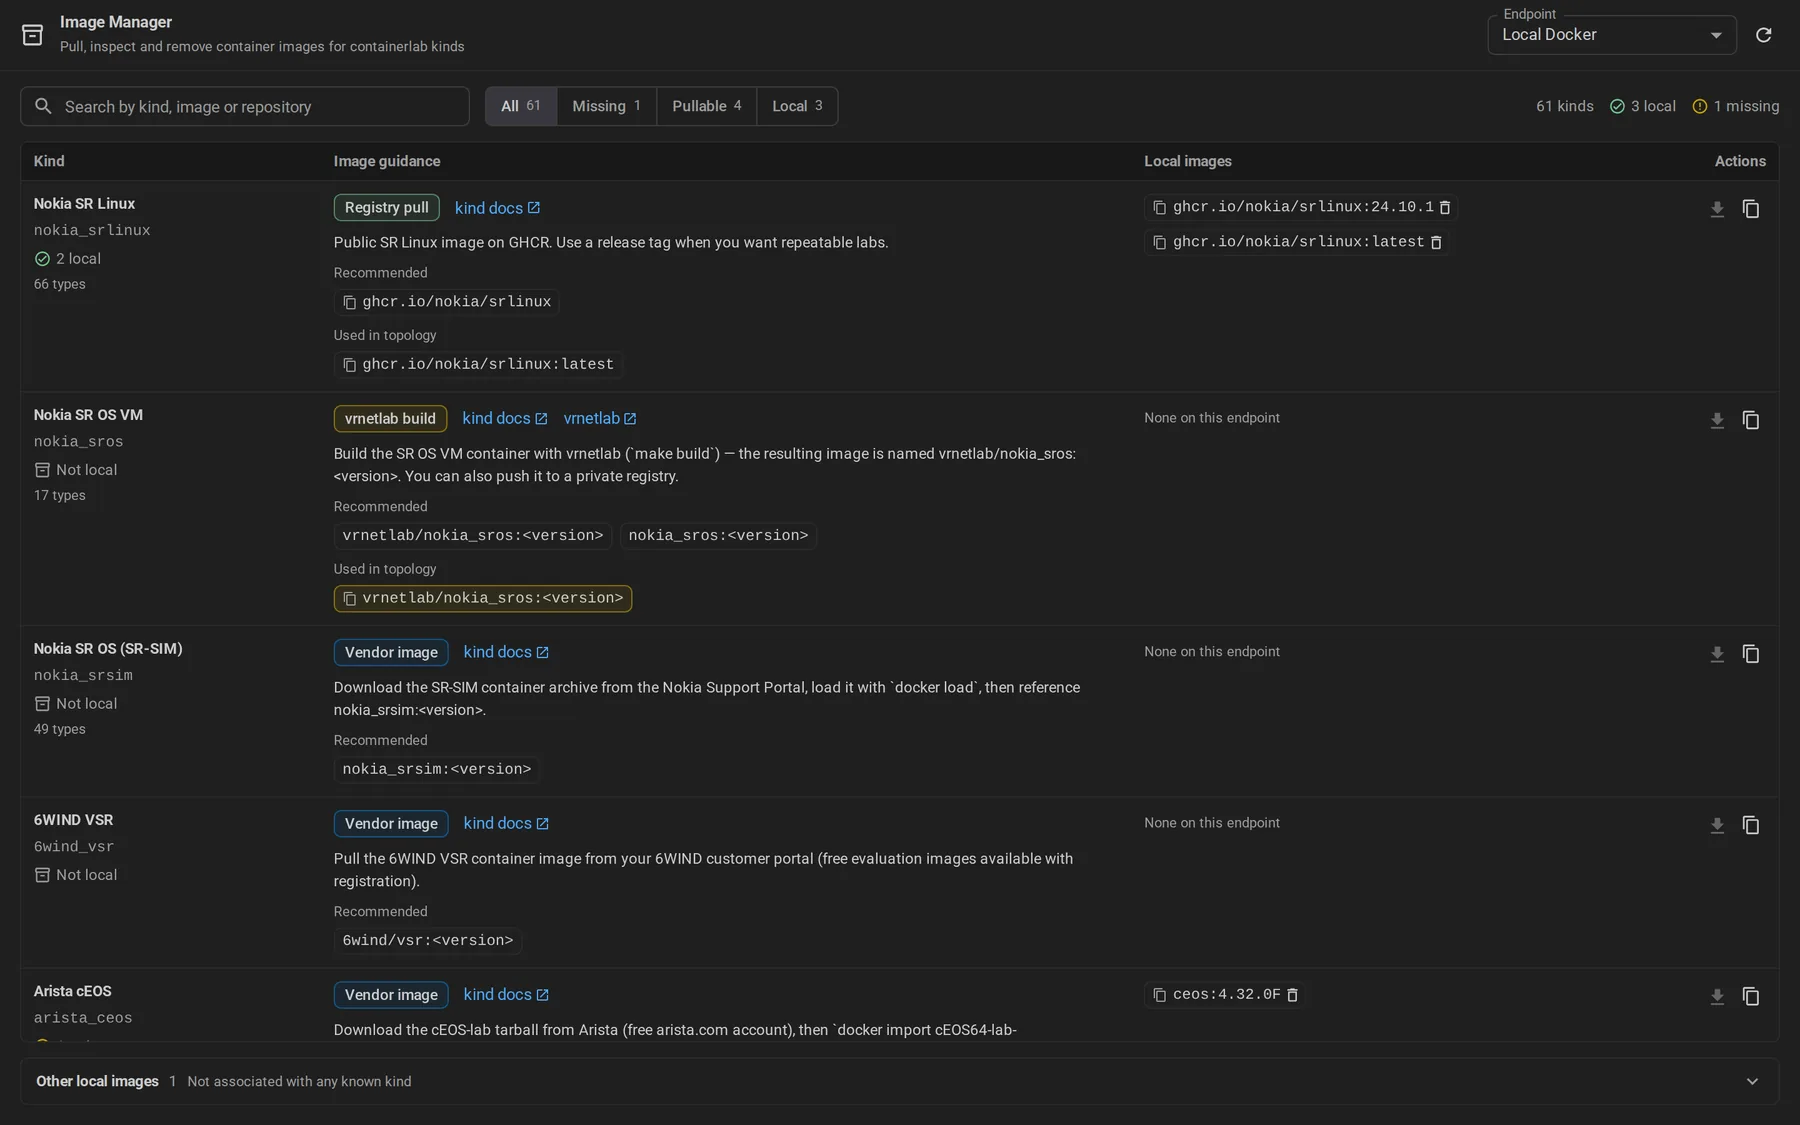
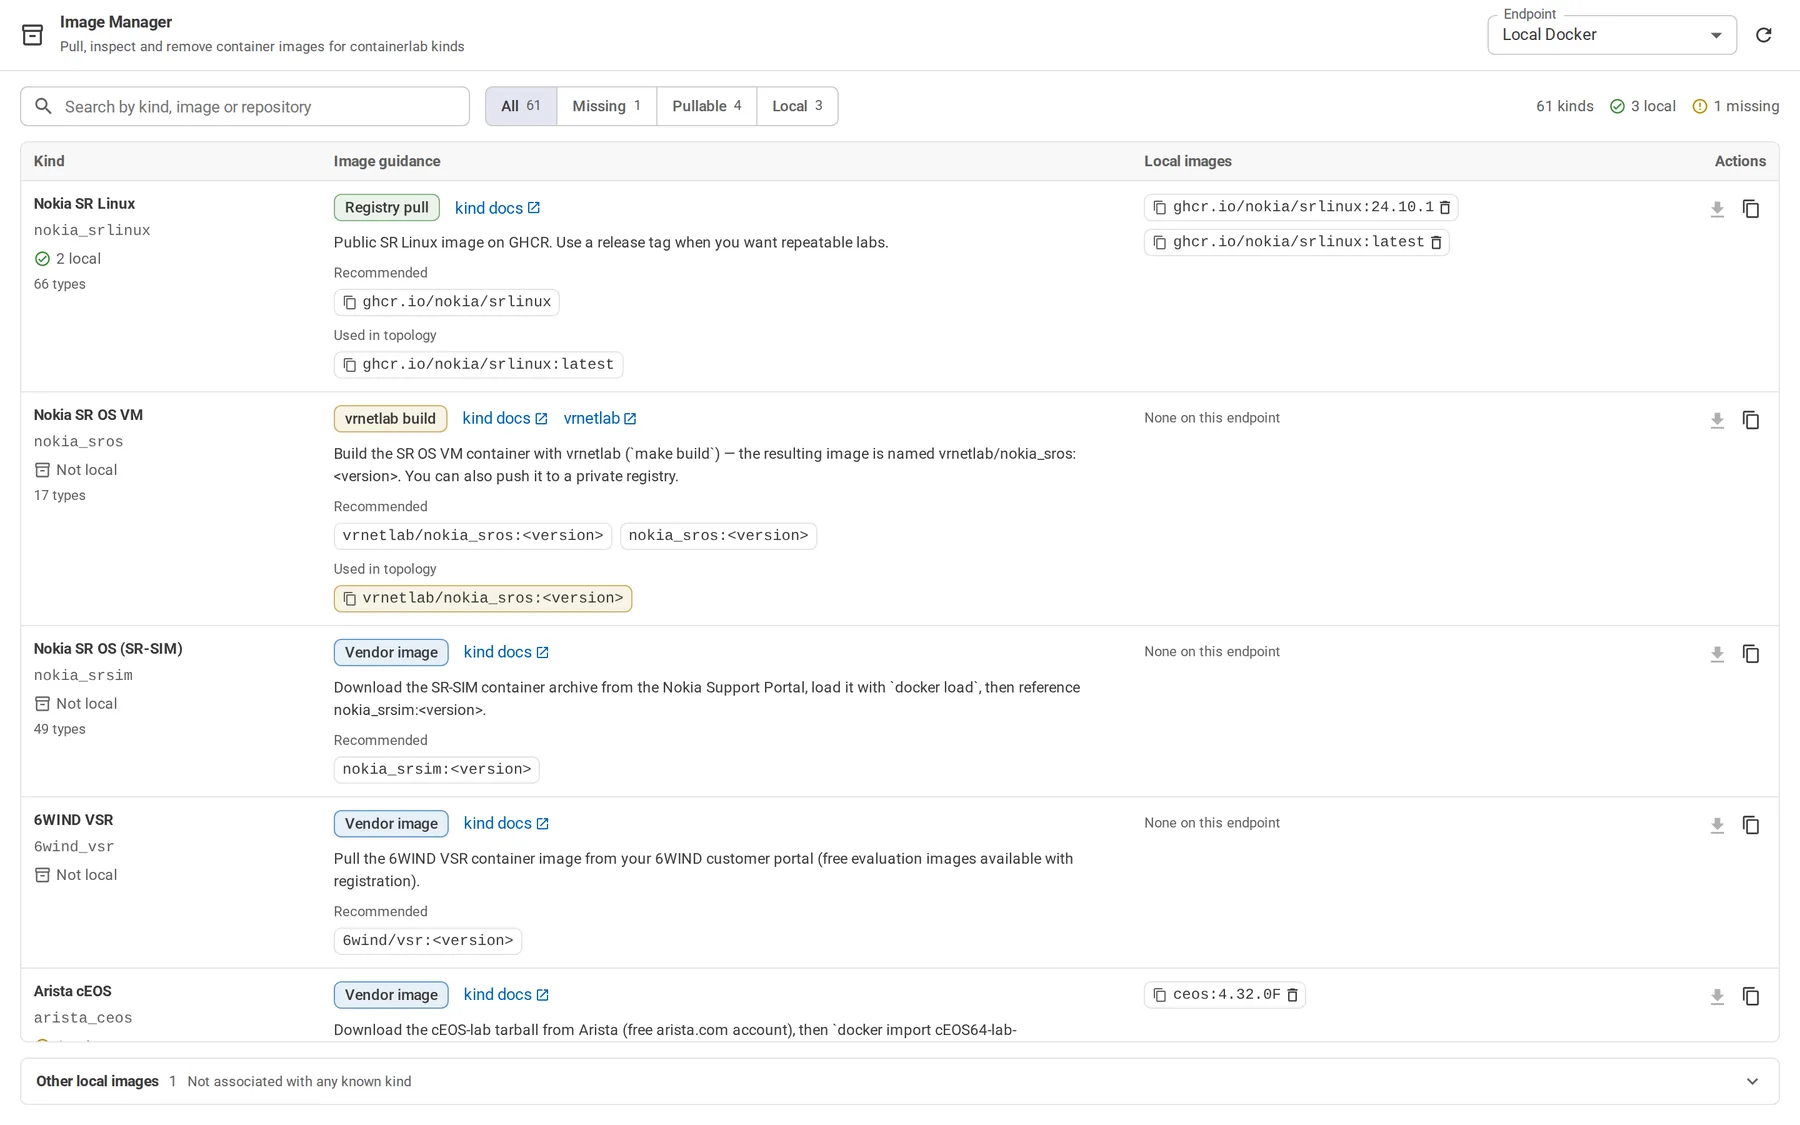
Manage Images, in the header of the explorer's running labs section, lists the images your labs and templates use, pulls missing ones, and removes those you no longer need.
A Kubernetes lab host has no images to manage: the cluster's nodes pull the images themselves. Manage Images is hidden on such a host, and in the header when every lab host is a cluster; asking for it anyway says so. For a private registry, set an image pull secret.